Making a deco mesh wreath is a fun and creative way to craft a beautiful decoration for any occasion. Whether you’re looking to add flair to your front door or create a personalized gift, a deco mesh wreath is both versatile and easy to make. In this guide, I’ll walk you through the process step-by-step, so you can craft a stunning wreath without breaking a sweat.

What You’ll Need
Before we dive into the steps, gather these materials:
| Materials | Purpose |
|---|---|
| Wire wreath frame | Forms the base of your wreath. |
| Deco mesh (variety of colors) | The main decorative material for the wreath. |
| Pipe cleaners or zip ties | Secures the deco mesh to the wreath frame. |
| Scissors or wire cutters | For cutting mesh and pipe cleaners. |
| Ribbon (optional) | Adds extra style or seasonal flair. |
| Decorative embellishments (optional) | Flowers, ornaments, or signs for personalization. |
Step-by-Step Guide to Making a Deco Mesh Wreath
Step 1: Prepare Your Wreath Frame

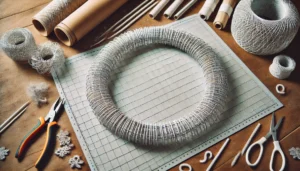
- Lay the wire wreath frame flat on your workspace.
- Attach pipe cleaners or zip ties around the frame.
- For even spacing, add pipe cleaners to both the inner and outer rings of the frame (usually 6-8 per ring).
Step 2: Cut the Deco Mesh

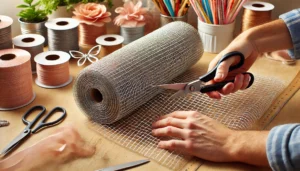
- Unroll your deco mesh and cut it into strips, each about 10–12 inches long.
- The size can vary depending on how full or loose you want the wreath to look.
- Cut enough strips to cover the entire frame.
- Plan for about 30–50 strips, depending on your frame size and desired fullness.
Step 3: Create the Poufs

- Take one strip of deco mesh and pinch it in the center to form a bow shape or pouf.
- Secure the pouf by twisting a pipe cleaner around the middle of the mesh.
- Repeat for all the deco mesh strips.
- Tip: Mix and match colors or patterns for a dynamic look.
Step 4: Attach the Deco Mesh to the Frame

- Start with the outer ring:
- Twist each pouf onto the pipe cleaners or zip ties already attached to the frame.
- Make sure the poufs overlap slightly for a full look.
- Move to the inner ring:
- Repeat the process, filling in the frame with poufs.
- Fluff the mesh as you go to create volume.
Step 5: Add Ribbon for Extra Flair

- Cut ribbons into strips, each about 8–10 inches long.
- Use a mix of solid and patterned ribbons to complement the deco mesh.
- Fold each strip in half and pinch the center to form a “V” shape.
- Attach the ribbons to the frame by twisting them into the same pipe cleaners holding the mesh.
Step 6: Add Embellishments

- Secure decorations like flowers, ornaments, or signs using hot glue or additional pipe cleaners.
- Evenly space the embellishments around the wreath for balance.
- Choose seasonal or themed decor for a personal touch.
Step 7: Finish and Adjust

- Fluff the wreath to ensure it looks even and full.
- Trim any excess mesh or pipe cleaners.
- Attach a ribbon or loop to the back of the wreath for hanging.
Tips for Success
- Layer Colors: Use multiple colors of deco mesh to create depth and visual interest.
- Secure Tight: Twist pipe cleaners tightly to prevent the wreath from falling apart.
- Stay Thematic: Match colors and embellishments to a specific holiday or season.
- Experiment: Try different mesh sizes or add LED lights for a unique look.
Frequently Asked Questions
How long does it take to make a deco mesh wreath?
It typically takes 1–2 hours to complete, depending on the complexity and your experience level.
Can I reuse a wreath frame?
Yes! Remove the old materials and start fresh with a new design.
What size wreath frame should I use?
For most doors, a 12–16 inch frame works well. Adjust based on the size of your space.
Final Thoughts
Creating a deco mesh wreath is an enjoyable craft that allows for endless creativity. With just a few materials and some patience, you can craft a beautiful and unique wreath for any occasion. Follow this step-by-step guide, and soon you’ll have a masterpiece that will impress everyone who sees it!
